


A must-have when traveling abroad!
Pictures and Description

I made a passport wallet that can be conveniently used when traveling abroad.

This is a zipper pouch-type wallet that can put cards, bills, coins, pens, cell phones,
and passports in one place.
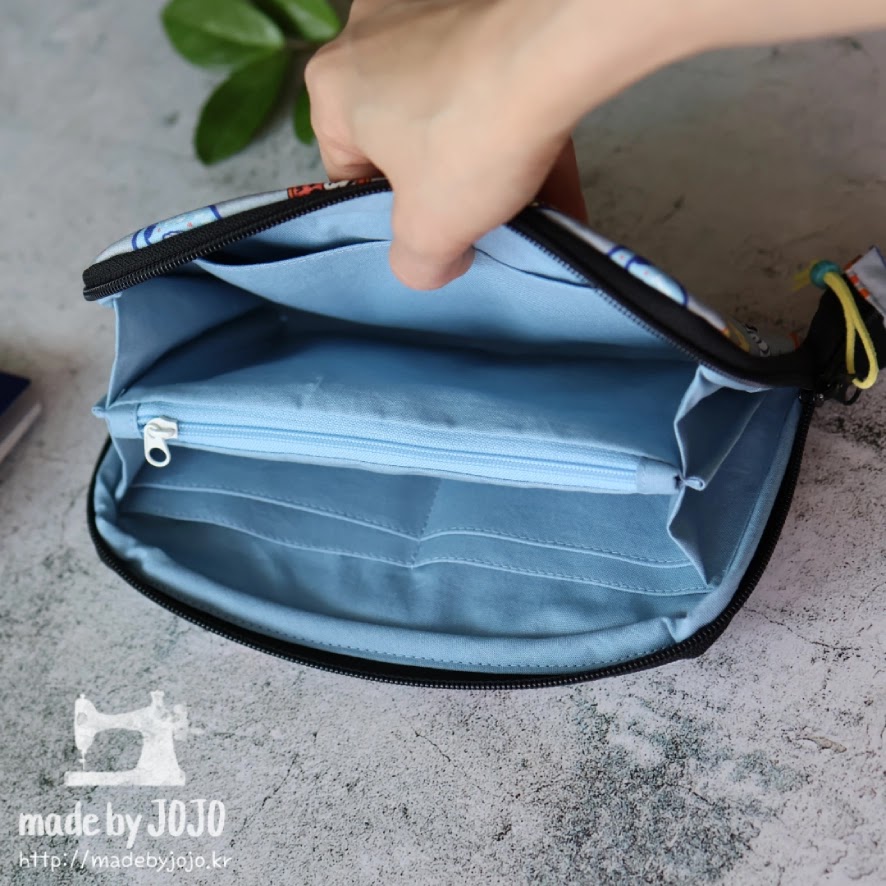
You can also put tickets, receipts, and room keys you get while traveling.

Just take this out and you can conveniently shop at duty-free stores.

Family passports can also be stored in one place.

13 x 21cm (5⅛ x 8¼in)
There is a pattern, but you can make it even without pattern.
I'll show you the process of making it without a pattern.
Materials

Cotton, Non-Woven Fusible Interfacing, Woven Fusible Interfacing
No. 5 Zipper, Lobster Clasp
1cm (⅜in) seam allowance is included.
If you cut from a pattern, add seam allowance. (Excluding interfacing)

Cotton, Woven Fusible Interfacing, No. 3 Zipper, D-Ring(10mm)
I used a No. 16 needle when sewing the thick part.
The pattern is on my YouTube channel.
How to make

1. Mark each point on the wring side of lining, draw a line, and attach interfacing.

2. Cut the corner of the interfacing in a round shape and attach it to the outer fabric. Radius 3cm (1 3/16in). Use a ruler, compass, round lid, or my pattern.
3. Cut the outer in a round shape. Attach the interfacing to the outer of the strap.

4. Fold the lining like a picture, and sew the folded end.
5. Sew the center of the card slot.

6. Lay the outer and lining wrong sides together
and cut the lining in a round shape.
7. Split the No. 5 zipper, fold one end, secure it to the outer fabric, and sew.
8. Fold the 4 x 3cm (1⅝ x 1¼in) piece of fabric, hang the D-ring,
and lightly sew between the zippers to secure it.

8. Place the bias tape on the lining and sew around it.
9. Wrap the bias towards the outer and sew once more.

10. Put a No. 3 zipper slider, wrap both ends with 4 x 3cm (1⅝ x 1¼in) pieces of fabric, and sew.
11. Sew the zipper to the front of the zipper pocket and turn inside out.

12. Fold the 20 x 12cm (7⅞ x 4¾in) fabric in half and sew, leaving an opening.
13. Clip the seam allowance and turn inside out.
14. Fold in half, wrap around both ends of the zipper pocket, and sew.

15. Connect by sewing on the bias.

16. Put the No. 5 zipper slider and cut the zipper if it seems too long.
17. Wrap the end of the zipper with a 6 x 5cm (2⅜ x 2in) piece and sew.

18. Fold the strap and sew it, then hang it on a lobster clasp and sew it.
19. Hang it on the D-Ring and passport wallet is complete.
Please check out the video for detailed making process.