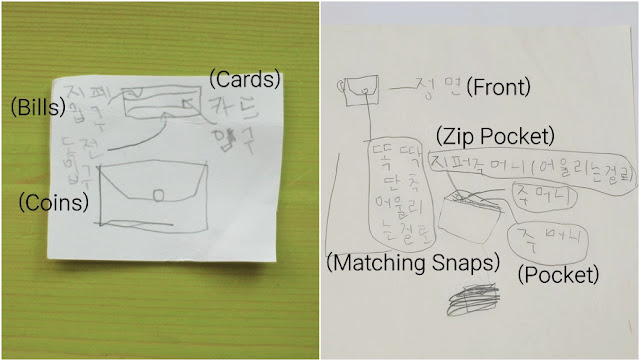
This is a mini flap wallet designed by my 6-year-old son and made by me, the mother.
Pictures and Description
I made a mini flap wallet that is small and light and easy to carry around.
It looks like a simple wallet on the outside, but when you open the flap,
it is a space-separated mini wallet with a zipper pocket.
You can put cards, bills, and coins separately.
Since my wallet is small, bills have to be folded in half.
This wallet was designed by my son when he was 6 years old.
He asked me to draw a picture on paper like this and make it.
So I made it with matching snaps as he requested.
I named it <JH Mini Flap Wallet> after my son.
Made of linen fabric without interfacing.
He still has this wallet.
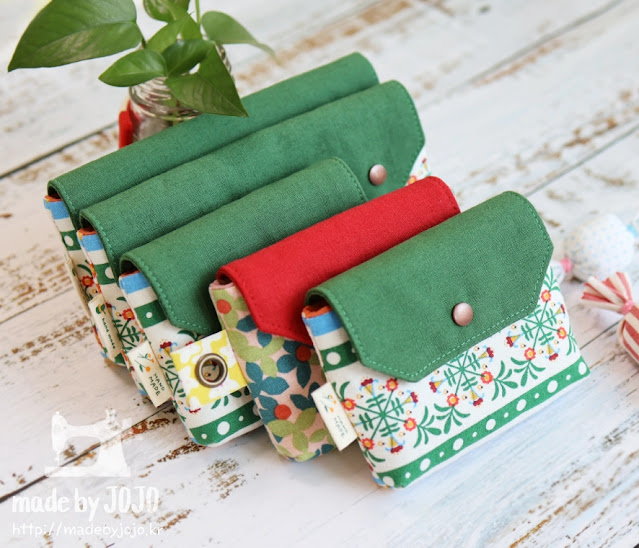
I made a pretty mini wallet with the same design.
I also made a pattern, so try making one yourself.
Isn’t this red flap wallet pretty?
This is the wallet I initially made as a sample.
After revision and supplementation,
the final <JH Mini Flap Wallet> has been completed.
Materials
Woven Fusible Interfacing, Linen, Label, No. 3 Zipper,
Including 1cm (⅜in) seam allowance.
The pattern is on my YouTube channel.
You can also use non-woven fusible interfacing (2 oz).
You can use any other snap button you like, such as plastic snaps or prong snaps.
How to make
1. Attach the interfacing to the wrong side of the outer.
2. Sew the outer and lining of the flap right sides together.
3. Cut the seam allowance on the angled part,
turn inside out, and sew the edges.
4. Install snap buttons to the flap and outer.
The positions of the buttons are indicated in the pattern.
5. Put the zipper slider on a zipper,
fold the fabric piece, wrap both ends of the zipper, and sew.
6. Sew the pocket fabric and zipper right sides together.
7. Turn the zipper pocket over and sew both ends.
8. Sew a zipper pocket to the center right side of the lining.
9. Lay the flap and lining on the part of the outer fabric that does not have a snap button and secure it.
10. Sew the top and bottom from the side where the interfacing is.
11. Open all seam allowances on both sides. It's better if you iron it.
12. Fold the outer and lining with the center lines aligned like the picture.
13. Place the label on the outer and sew, leaving an opening in the lining.
14. Make a bottom on the outer and turn inside out.
15. Fold the opening seam allowance inward and sew to close it.
16. Push the lining toward the outer and shape it. Done!
Please check out the video for detailed making process.


