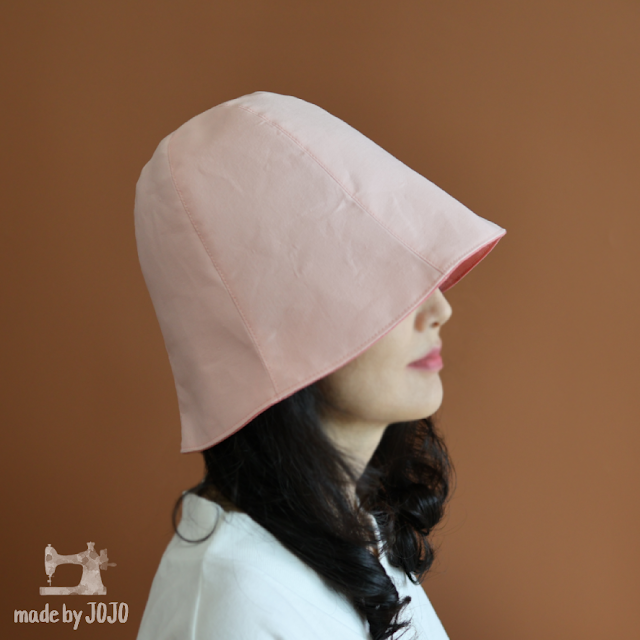
I made a bucket hat.
It's me in the picture. JOJO.
Pictures and Description
The bucket hat I made doesn't have wide edges.
My head is big, about 58cm (22¾in).
It won't be small for you.
This is the first hat I made, but it was too big for my big head,
so I modified the pattern and made it again.
You can flip it over and use both sides.
This is the woven fusible interfacing I used.
There are shiny adhesive grains on the back.
Patterns
(You can download the pattern at the bottom of the post.)
Outer and lining are cotton.
Add 0.7cm (¼in) seam allowance and prepare 6 pieces each.
Interfacing does not add seam allowances.
I put the pattern on it as shown, drew the shape,
folded it twice into an S shape, and cut it off.
Fabrics with up and down directions should be in the same direction.
The pattern is on my YouTube channel.
How to make
1. Place the adhesive part of the interfacing on the wrong side of the outer fabric,
cover the fabric, spray water, and iron it.
I'm going to divide it into 3 pieces and connect them.
2. First, sew the two pieces right sides together.
3. Fold the seam allowance in one direction
and sew once more from the right side so that the folded side is sewn.
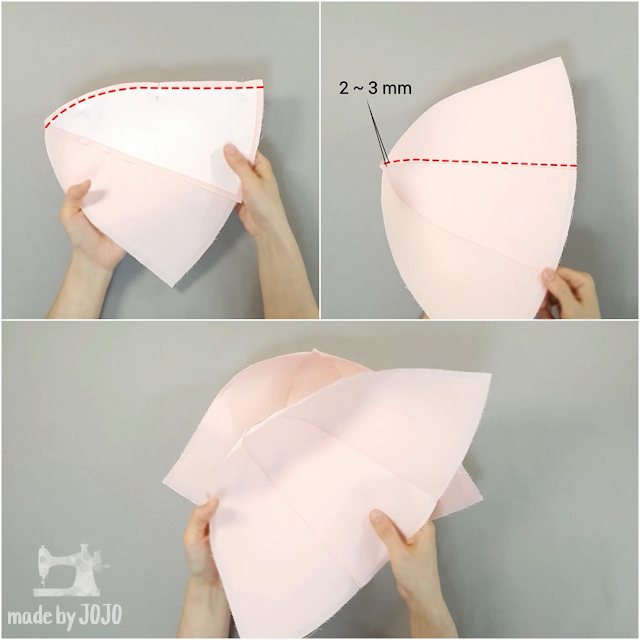
5. Prepare two by connecting three pieces like this.
6. Align the center pieces and pin it.
Sew the two pieces right sides together.
7. Fold the seam allowance in one direction and sew once more.
8. Sew the lining in the same way.
9. Turn the lining inside out and insert it into the outer fabric,
align the seam lines and pint it.
10. Leave an opening and sew around the circle.
12. Fold the opening seam inward and sew the brim of the hat.
13. Iron and straighten wrinkles. The bucket hat is complete.
Youtube
00:19 Pattern
00:23 Materials
00:39 Attach the interfacing
01:16 Sew outer fabric
05:14 Sew together the outer and lining
06:09 Turn inside out
06:29 Sew on hat brim


.webp)


