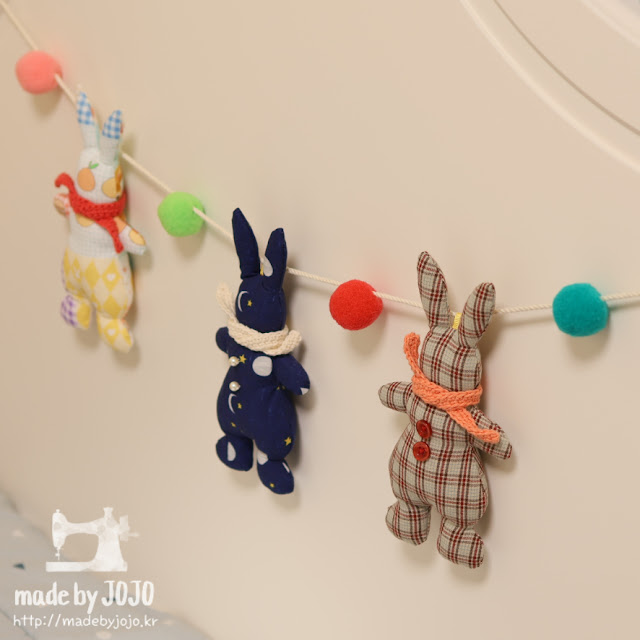
Taebong is the name of my son’s favorite doll.
It was named after each of his two grandfathers' names.
Pictures and Description
I made Taebong, a winter rabbit doll.
My son, who was born in winter, loved rabbit dolls.
To him who was heartbroken after losing his first doll, Taebong.
I gave him the rabbit doll I made and he loved it.
Taebong is a doll with a pillow-like cover, so I can change his face and clothes.
It is a precious doll that has been with us for over 10 years,
making it new when it gets worn out and washing it.
I make a garland with small Taebongs,
I attached it to a child's bag, used it as a tree decoration, or as a keychain.
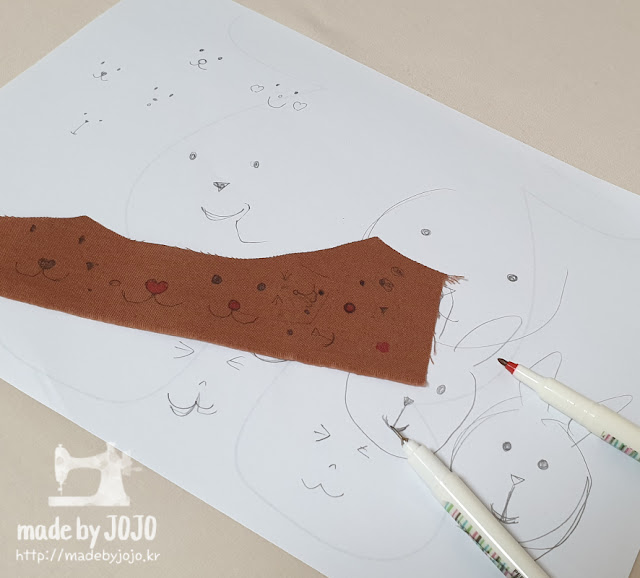
I practiced several times on scrap cloth to make sure I didn't draw incorrectly.
I've completed 9 Taebongs.
Feel free to draw faces with various expressions.
Make it as a gift for children.
Materials
Cotton, Buttons, Crochet Scarf or Ribbon 40cm (15¾in)
When making small dolls, the seam allowance is shorter, 0.5 to 0.7cm (¼in).
The pattern is on my YouTube channel.
You don't need to have buttons or pockets,
but you have to wrap something around the neck to make it look pretty.
Forceps or Tweezers, Fiberfill, Needle&Thread,
Permanent Marker, Satin Stitch Foot (for buttons)
How to make
1. Let’s make the pocket first. Fold in half and sew, leaving an opening.
2. Clip “V”-shaped notches along the curve and turn inside out,
sew once more only at the top.
3. Attach it 7.5cm (3in) below the top of the body.
(It's higher than the picture above. It was too low, so I sewed it again.)
※ Easily attach buttons with a sewing machine
4. Measure the width between buttonholes with a ruler.
The buttons I used are 3mm.
5. Select zigzag pattern, adjust stitch width to buttonhole spacing.
6. Push the feed dog control on the back of the machine
to the right to lower the feed dogs.
7. Replace with the satin stitch foot.
Place the button on the fabric,
and lower the needle to check that it fits into the left buttonhole.
8. After zigzagging about 5 to 10 stitches,
press the auto-lock button and finish by sewing in place to complete buttoning.
9. Move the feed dog control back into place
and move the hand wheel or pedal to raise the feed dogs.
Select a straight pattern and replace the presser foot.
10. Sew head and body right sides together only seam line.
11. Lay the front and back right sides together, pin it.
14. Turn inside out and stuff with fiberfill.
15. Close up a seam with invisible hand stitching.
It's easier if you first position it with a chalk pencil and draw it.
For more details, please check the Youtube video.
Youtube
00:48 Patterns 00:52 Materials 01:04 Pocket 02:49 Attaching buttons 04:09 Connecting the head and body 05:14 Sewing leaving an opening 07:16 Clipping & notching 10:01 Stuffing 11:29 Drawing a face


