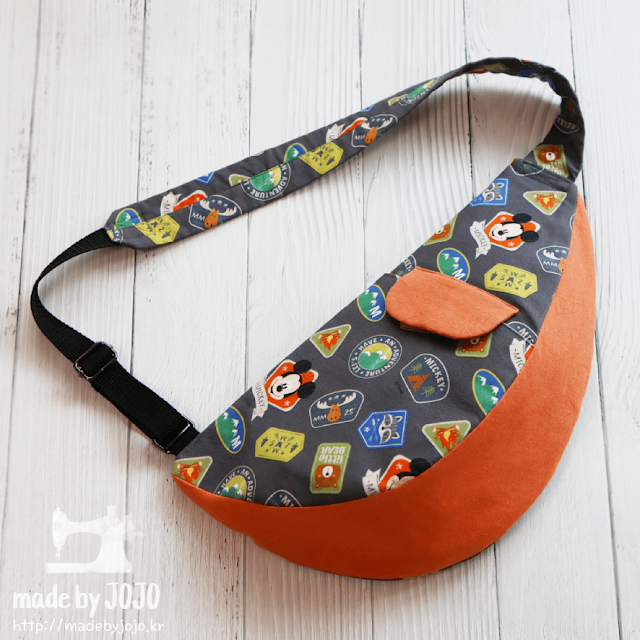
Introducing a sling bag with a unique design.
Pictures and Description
I made a half moon sling bag.
I was wondering what to name it.
It's not exactly a half moon...
My daughter thought of a banana, and I thought of an orange.
No one will be search for orange sling bag, I decided to call it half moon sling bag.
This bag has an attractive curved and diagonal bottom.
To make this shape, I modified it again and again,
and several pieces of A4 paper were cut.

After all the hard work, I ended up with a bag that I really like.
The zipper is at the back.
There is a front pocket for my cell phone.
I went to an amusement park with this bag and walked 30,000 steps.
I carried it around all day and found it to be really comfortable.
It's perfect for carrying a water bottle and going for exercise.
Amusement park set!
Try making a Mickey Mouse bucket hat too.
Materials
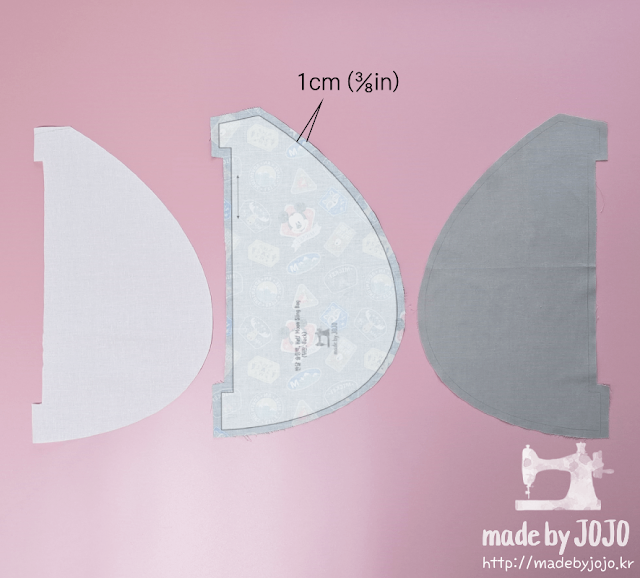
This is the front.
Woven Fusible Interfacing (or non-woven fusible interfacing, 2 oz), Outer, Lining
Check left and right carefully before cutting.
This pictures was taken from the wrong sides of the fabric.
The pattern is on my YouTube channel.
This is the back.
This is the bottom.
I used non-woven fusible interfacing (4 oz) for the bag strap.
The 25mm poly webbing was the perfect length for me,
but I think it would be okay to make it 2~5cm (1~2in) longer.
Also prepare a seam ripper and nose pliers for magnetic buttons.
How to make
1. Attaching the interfacing.
2. Sew the outer and lining of the back right sides together.
4. After fixing the zipper, sew. Then the back is ready.
5. Sew the outer and lining of the pocket right sides together.
6. Fold the right side over and sew once more.
7. Install a magnetic button 2cm (¾in) away. (Video 04:33)
8. Stack the pocket on the front outer and clip the curves of bottom outer.
Secure it on the front outer fabric.
9. Secure and sew the lining in the same way.
10. Install a magnetic button on the flap lining. (Video 07:43)
11. Sew the outer and lining of the flap right sides together.
(Leaving about 4mm of space at the top and an opening.)
12. Sew the flap by positioning it so that the magnetic buttons meet.
leaving an opening.
15. Hang a 4cm (⅝in) poly webbing on the rectangle ring
and secure it between the outer fabric at the bottom of the bag.
16. Sew the lining and outer together and turn inside out.

17. Wrap the interfacing with the strap outer and then sew.
18. Fold the end of the webbing,
place it on top of the diagonally folded bag strap with the pointed end,
and sew. (Video 14:01)
19. Fold the pointed bag strap inward and sew.
20. After turning the body of the bag over,
insert the bag strap into the upper hole and sew.
21. Turn it over and sew firmly once more. The rectangle ring part is also sewn.
22. Insert the webbing into the slide buckle and secure it by sewing. (Video 17:06)
23. Fold the opening seam allowance inward and sew,
to complete the half moon sling bag.
For a more detailed process, please check the video~^^
Youtube
00:36 Dimensions 00:40 Materials 01:11 Back 04:03 Front 07:43 Flap 13:30 Strap


I wish this was printable - downloadable. My computer is quite a distance from my sewing area.
ReplyDelete