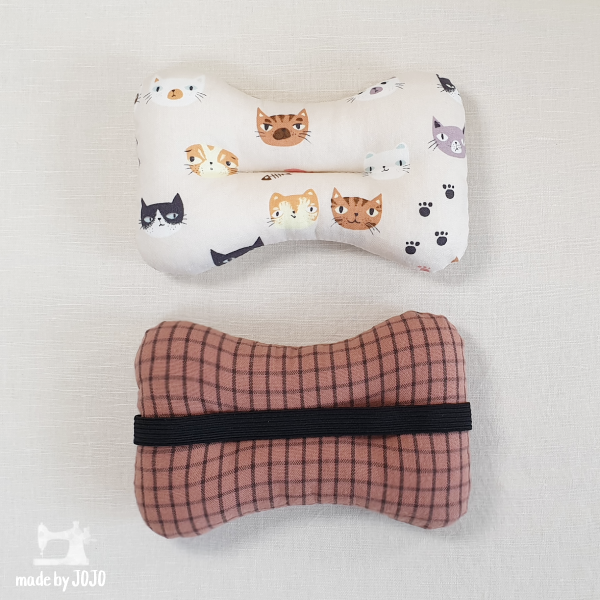
I made a mouse wrist cushion that is easy and simple to make.
Pictures and Description
It supports your wrist so you can use the mouse more comfortably.
It also has an elastic band so you can secure it to your wrist.
The bone-shaped wrist cushion has the comfort of the curve.
Looks comfortable, right?
The center width of (S) is 7cm (2¾")
The center width of (M) is 8cm (3⅛")
And give it as a gift.
Materials
Cotton, Elastic band, Fiberfill, Forceps or Tweezers
The length of the elastic band is 17cm (6¾in) for all sizes.
The pattern is on my YouTube channel.
How to make
1. Secure the elastic band on the right side by sewing it 0.5cm (3/16in) inward.
2. Lay another piece on top of it right side together
then sew them together, leaving an opening.
3. Clip the curves and turn inside out.
4. Cut the center of the pattern with scissors, make a hole,
mark the area on the fabric, and sew.
5. Stuff with fiberfill using forceps, tweezers, or chopsticks.
6. Close up an opening with invisible hand stitching.
Please check out the video for detailed making process.
Youtube
00:36 Pattern
00:40 Materials
00:44 Elastic band
01:07 Sewing
02:03 Turn inside out
02:20 Center line stitching
03:03 Stuffing
03:43 Opening stitching
05:40 Rectangular wrist cushion.


